The following steps provide details on how to set up the extract and burst them into Document Records.
Step 1: Create Extract
Log into the application.
Navigate to My Client Groups > Data Exchange > Extract Definitions. Click on Add (+) icon to create a new extract definition. On the Create Extract Definition window, select the Extract Type based on the purpose of the extract. In this example, it is “Full Profile”.

Step 2: Define Extract
1. Enter the extract description and click Save.

2. Click on the row below root Data Group, enter a meaningful name and tag name. Select a User Entity, for example: PER_EXT_PAY_EMPLOYEES_UE

3. Apply Extract Filter Criteria so that only few records are extracted and used in bursting.
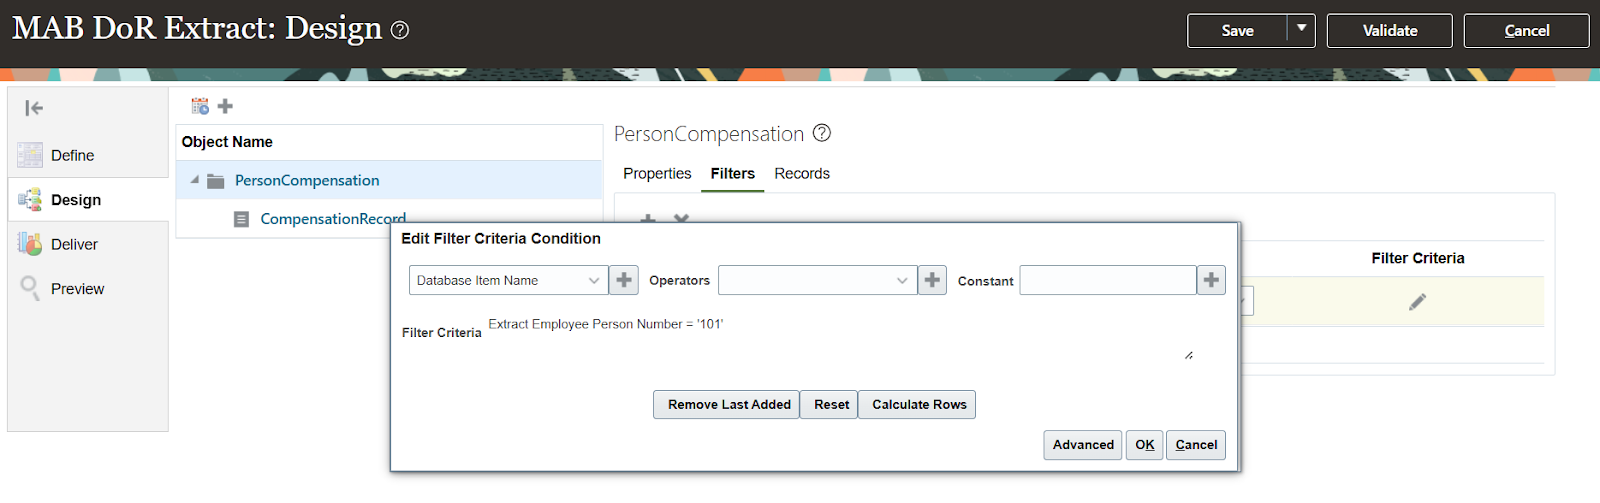
4. Click OK and then Save.
5. Create the following extract attributes for the Employee Record:
a) Person Number
b) Person Id
c) Extract Employee Payroll Assigned Start Date
d) Assignment Salary Annual Amount

6) Click on Validate and formulas will be generated/compiled
Step 3: Define Delivery Methods
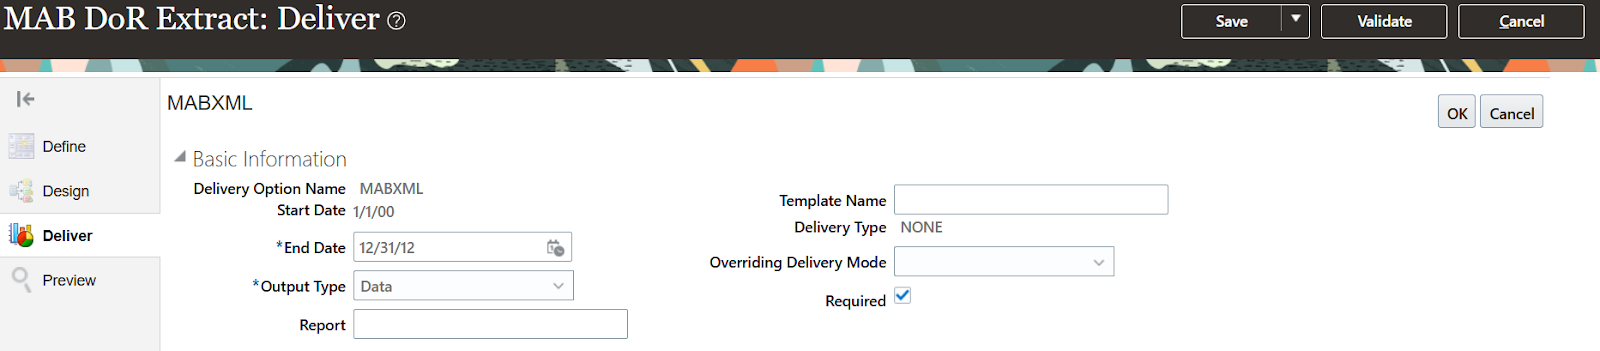
1) Create a Delivery option, delivery type as NONE to test the Extract whether all expected tags are generating or not.
Step 4: Submit Extract with NONE Delivery option.
1) Click on the icon which is highlighted in the below screen and enter parameter details such as Flow Instance Name, Effective Date etc.


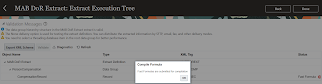
2) Once the Extract is submitted and run successful, we can see that the Extract generated XML Data as shown in below screen.

Step 5: Create a Custom Data Model.
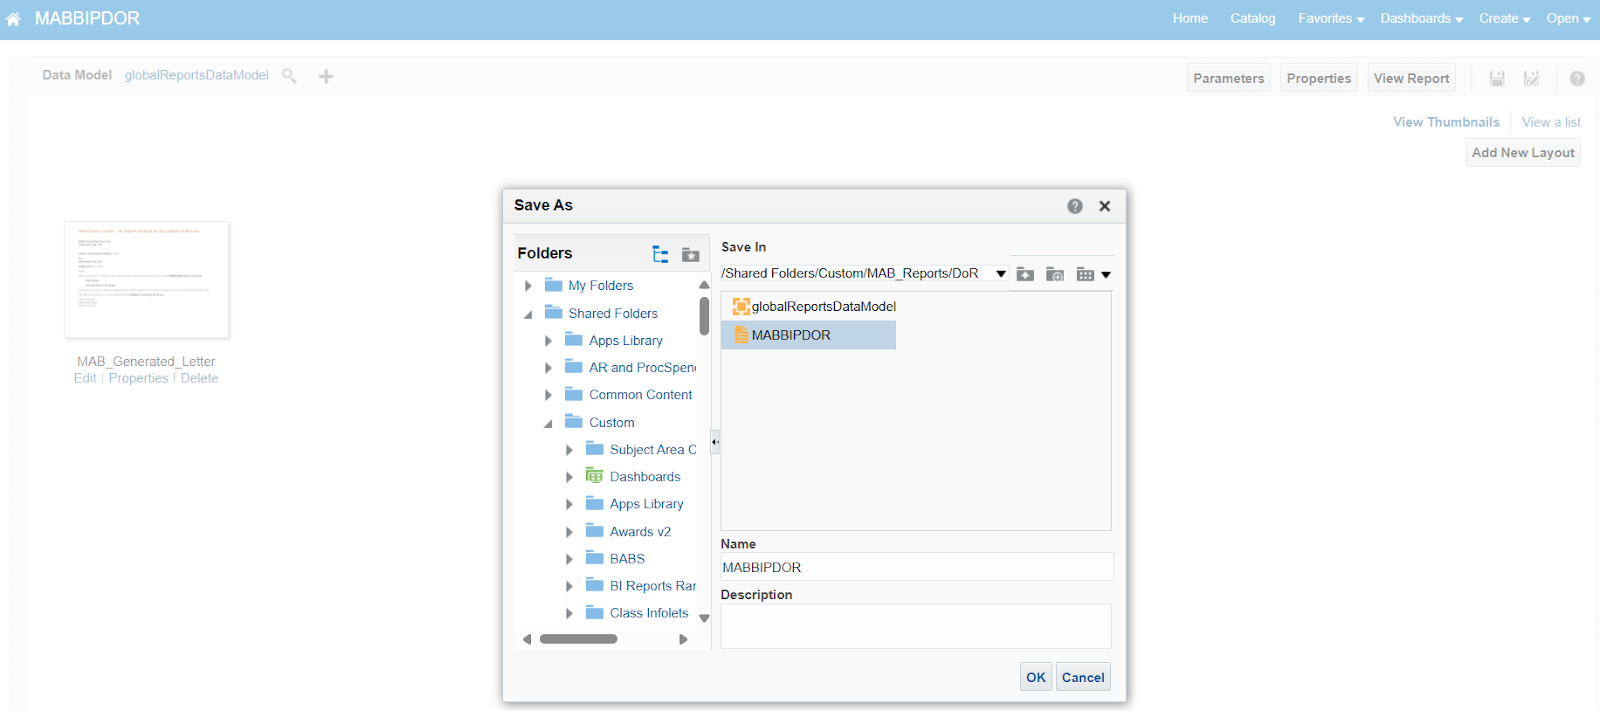
1. Create a custom data model by creating a copy of globalReportsDataModel from /Shared Folders/Human Capital
Management/Payroll/Data Models. Save the custom data model in another folder.
Edit the custom data model.
Modify the values in the following fields:
a) Split By: Contains the X-path of a data element, which has a unique value.
/DATA_DS/G_1/G_2/FILE_FRAGMENT/ExtractTagName/DataGroupTagName/RecordTagName/DataElemen
tTagName
In this example, it is /DATA_DS/G_1/G_2/FILE_FRAGMENT/MABDOREXT/PERSCOMP/COMPREC/person_id

b) Deliver By: Same as Split By.
/DATA_DS/G_1/G_2/FILE_FRAGMENT/Extract_for_Document_of_Records/EmpDetails/EmpRecord/PersonID
In this example it is /DATA_DS/G_1/G_2/FILE_FRAGMENT/MABDOREXT/PERSCOMP/COMPREC/person_id
c) Bursting query: Use the following query as the bursting query:
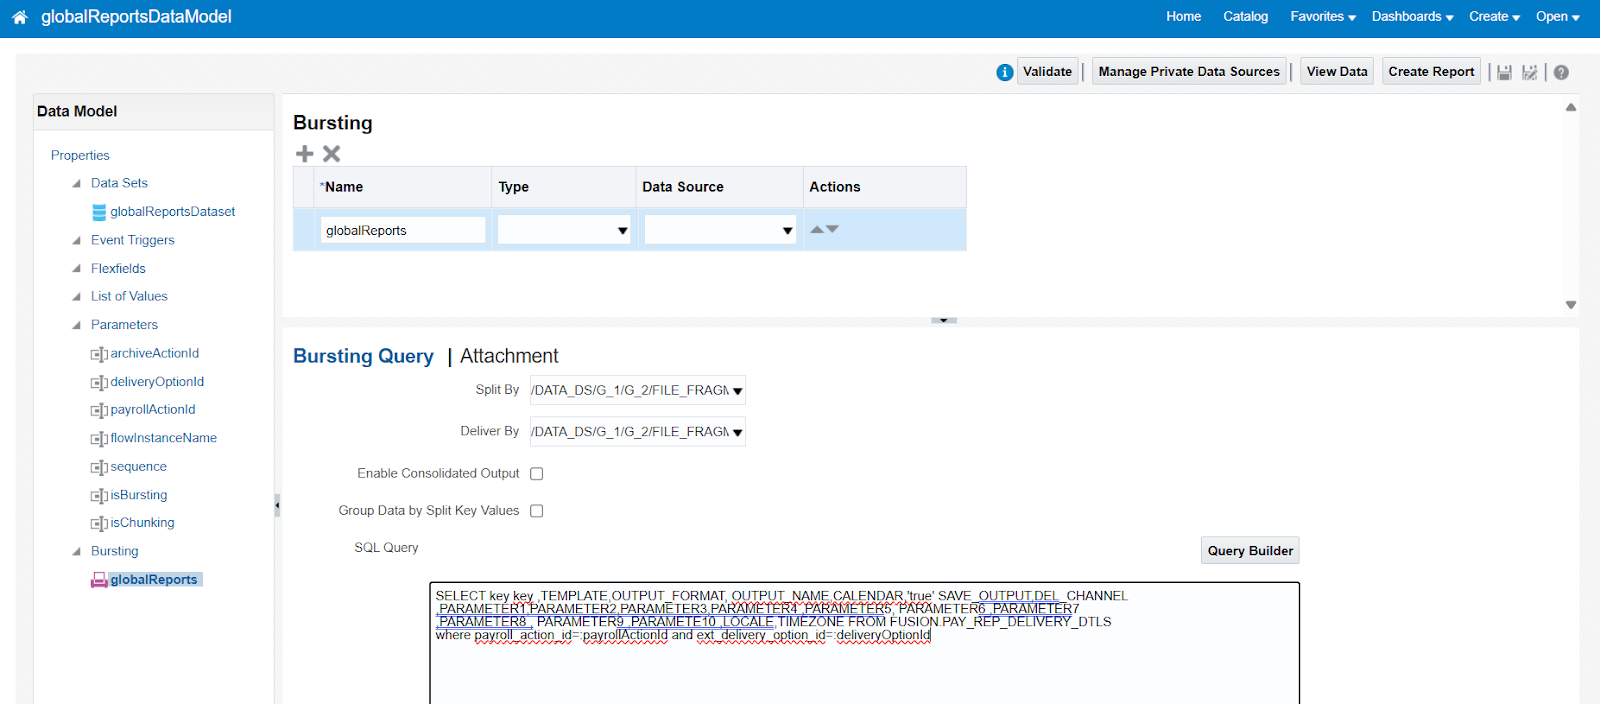
Navigate to the Data tab under Data sets and enter the flowinstancename. Flow instance name is the Extract Instance Name
entered in previous step.

Step 6: Create BIP Template
1. Open MS Word with BI Publisher plugin. Enter the desired text for the document to be generated. Example,
Promotion letter.
2. Upload the sample XML saved in Step 5. Add fields using the XML and create a BIP template. Save the template as
rtf.
Step 7: Create BIP Report

1. Create a BIP Report based on the previously created custom data model in Step 5. Upload the rtf template created in Step 6.
2. Save the report.


3. After the report is created, edit the report, and click Properties. Check the box for Enable Bursting.
Step 8: Grant Permissions
1. Add Permissions for the created MABBIPDOR report.
Note: Add “Enterprise Scheduler Job Application Identity for HCM” user account with Full Control for the logged
in BI user.
Step 9: Extract Delivery Options
You need to define the delivery options for the extract by specifying the BIP report created in the previous step.
1.Access the created extract and Navigate to Extract Delivery
Option. Click on "+" symbol to create.
2. Under Additional Details, enter the values as indicated in the table below.
Step 10: Compile the Extract and Submit.
1. Click on Validate button, formulas will be compiled. Once formulas are compiled successfully, it will show as pop-up window with the details. Click OK and then Done.
2. Submit the extract with required parameters.
3. View Extract Results.
Access the document records of one of the employees to verify whether the employee has received the Salary letter.
Access the Step-by-Step Guide
For a detailed walkthrough on storing BI Report output as a Document of Record, check out this Step-by-Step Guide.
📘 Access the detailed guide from Oracle is here: Step-by-Step Oracle Source Guide
Thanks for the instructions. I followed them exactly, the employee gets the document added to the DoR but there is no data! I can see the data if I view the BIP report so I think my template is good. Any ideas what might be wrong. I know Oracle made a change to this functionality in 23B, I wonder if these instructions are no longer valid?
ReplyDeleteHi Andy,
ReplyDeleteIn this process, sometimes if we have incorrectly and later corrected anything like SplitBy or DeliverBy, we noticed that the scenario you mentioned. We created the Extract from scratch and it worked. Below is Oracle document link to verify the details.
https://drive.google.com/file/d/1oIotIRB3m3KwHacNPHxzMf0in7Dcs0NU/view?usp=drivesdk
If you still have issues, feel free to raise Service Request with Oracle team.
Thanks for the response. I did make a mistake entering the SplitBy which I corrected, so it might be that. I'll try starting again from scratch.
ReplyDelete